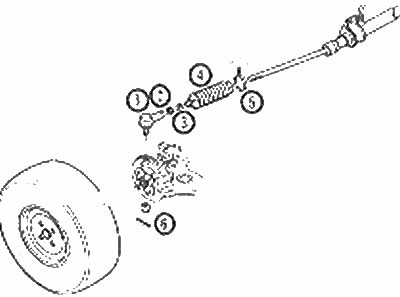
Tie Rod End and Steering Gear Boot Installation Parts
1. Tie rod end; 2. Locknut; 3. External collar of the cover; 4. Sealing cover; 5. Internal collar of a cover; 6. Tie rod nut and cotter pin
1. Raise the front of the vehicle and support it with jack stands.
2. Remove the front wheel.
3. Remove the cotter pin and tie rod nut that secures the outer tie rod to the steering knuckle.
4. Using a suitable tool, such as "fork", disengage the connecting rod from the steering knuckle (photo).
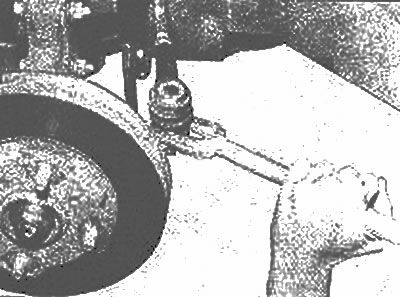
Using a fork and hammer tool, disengage the tie rod from the steering knuckle
5. Mark the position of the lock nut in relation to the tie rod threads at the front end so that the installation can be supported as shown in the accompanying illustration.
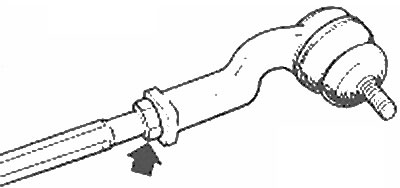
Mark the position of the tie rod end locknut (arrow) before removal
6. Remove locknut from outer tie rod.
7. Unscrew the tie rod end from the tie rod.
8. Inspect the hinge tie rod boot for breaks or grease leaks. To replace the boot, place the tip securely in the clamp and carefully loosen the nut around the outer periphery using a flat chisel and hammer as shown in the accompanying illustration, taking care not to damage the sealing surface. Apply a small amount of lithium grease to the new cover and put it on the end of the tie rod. Push boot securely onto end of tie rod using appropriate size socket or press and Mazda tool 491243785.
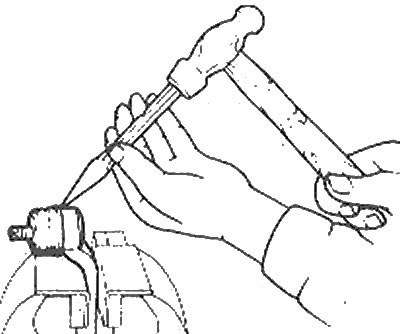
Removing the protective cover of the connecting rod | 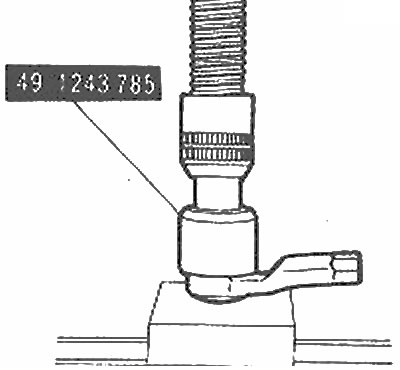
Mounting the tie rod end boot using a press and a factory tool |
9. To install, place the locknut on the mark on the thread. Screw the outer tie rod onto the inner tie rod until it is snug against the lock nut.
10. Install connecting rod and steering knuckle.
11. Install the connecting rod nut, tighten it with the tightening torque specified specification and install a new pin.
12. Tighten locknut.
13. Install the front wheel and lower the vehicle. Tighten lug nuts.
14. Check front wheel alignment before driving (Chapter 3).
