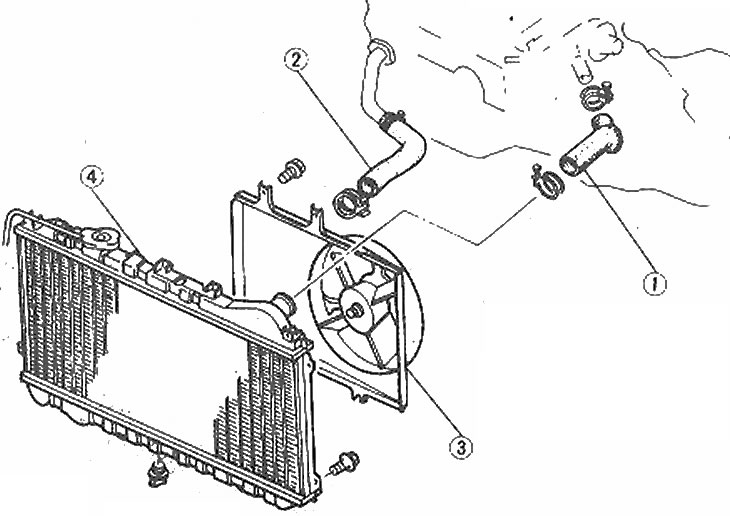
3 Radiator mounting parts
1. Upper radiator hose; 2. Bottom hose; 3. Fan cover; 4. Radiator
Warning: The engine must be completely cool before starting this procedure. Be sure to disconnect the negative battery cable before working near the fan. See also Warning in Chapter 2.
1. Damage to the radiator causing minor coolant leaks can be repaired with special sealant such as Holts Radweld without removing the radiator.
2. Drain the radiator (see section 1).
3. To gain access, remove the intake pipe of the air filter assembly, disconnect the ignition coil wiring and move it to the side.
4. Disconnect the motor and cooling fan thermal switch connectors.
5. Disconnect all hoses from the radiator.
6. Turn off all fastenings of a radiator and remove a radiator. On automatic transmission models, lift the radiator just enough to access the transmission connecting hoses, disconnect and plug them. Remove the radiator from the engine compartment (photo).

Lift up the radiator to access the automatic transmission hoses (arrows) | 
Move the hoses to the side and remove the radiator, being careful not to damage its plates |
7. Carefully inspect the radiator for signs of leaks and damage. Radiator repair is recommended to be entrusted to a specialist.
8. Clean the radiator fins of insects and leaves. Inspect the radiator and replace any damaged hoses and clamps.
9. Flush the radiator as described in Section 1.
10. Check the condition of the radiator cap at any workshop and replace it if necessary.
11. When installing a new radiator, move the fasteners from the old block onto it.
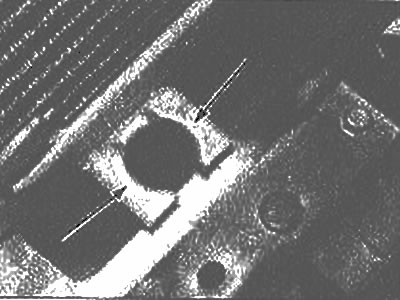
12. Installation is carried out in the reverse order (photo).

Inspect the surface of the radiator mounts (arrows) for rust and damage
13. After installing the radiator, fill it with the proper water/antifreeze mixture (see section 1), then start the engine and check the unit for leaks.
14. On models with automatic transmission, check the transmission fluid level and top up the system if necessary (Section 1).
