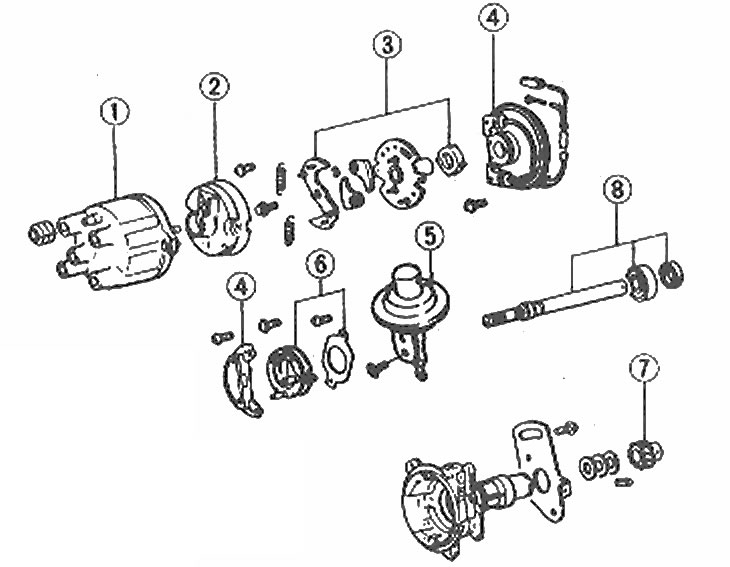
3 Arrangement of distributor components
1. Lid; 2. Slider; 3. Lead mechanism; 4. Sensor winding; 5. Vacuum control box; 6. Breaker assembly; 7. Driven mechanism; 8. Shaft
Removing
1. Remove the distributor (Chapter 6).
2. Remove the fixing plate from the distributor body.
3. Install the dispenser in the tesk, using a cloth to avoid damaging the surface.
4. Unscrew the two screws and remove the slider.
5. When removing, note the position of the components for ease of assembly. Remove the two advance mechanism springs (photo).
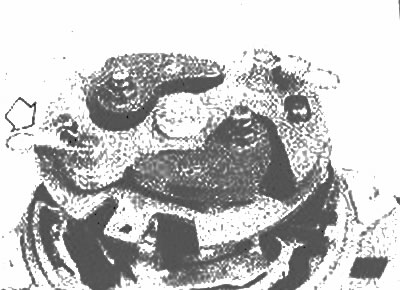
Disconnect the advance mechanism and springs
6. Unscrew the fastening bolt and remove the advance mechanism from the shaft (photo).
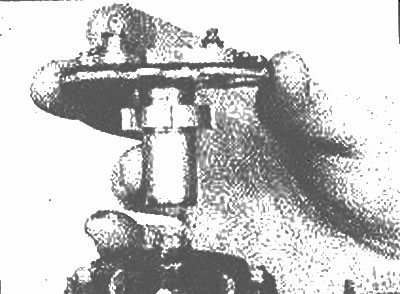
Removing the advance mechanism
7. Unscrew the two screws and remove the sensor winding.
8. Use a small screwdriver to disconnect the block from the sensor winding (photo)
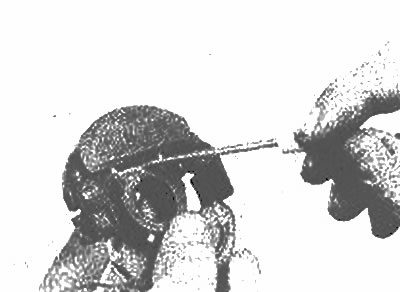
Disconnect the block from the sensor winding with a small screwdriver | 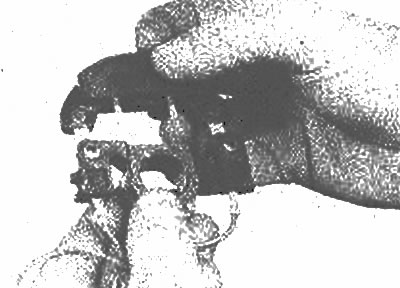
Remove the block from the sensor winding |
9. Remove the two screws and remove the diaphragm vacuum assembly from the housing.
10. Turn off screws of fastening and remove assembly of the breaker.
11. The driven mechanism can be removed after knocking out the roll pin. Remove washers.
12. Remove the distributor shaft, bearing and oil seal from the housing.
Bulkhead
13. Lubricate the distributor shaft with lithium grease.
14. Install the shaft, bearing and seal.
15. Install washers and driven gear. Use washers so that the mechanism has a small gap. Secure the mechanism with a new roll pin.
16. Install the breaker assembly and secure it with screws.
17. Insert the lever of the vacuum control unit into the distributor housing onto the mechanism at the base of the housing (photo).
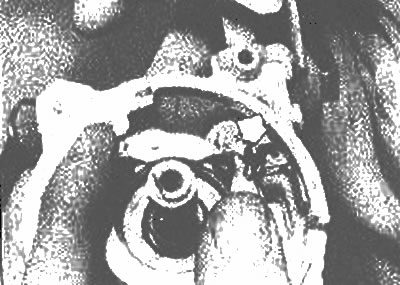
Connect the vacuum correction lever | 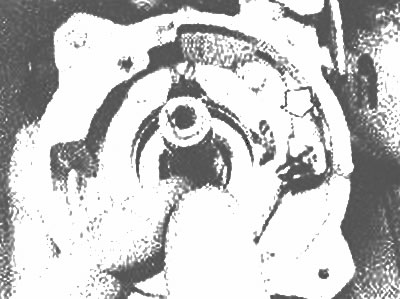
Rotate the mechanism until it engages with the lever (shown by arrow) |
18. Install the coil and unit making sure they sit on the mounting, then tighten the screws.
19. Install the advance mechanism and connect the springs.
20. Install the slider and cover of the breaker-distributor.
