2. Measure the camshaft projections with a micrometer and compare the measurements with specifications, to determine if they are worn out.
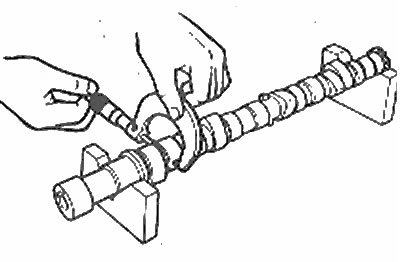
Measurement of camshaft projections
3. Check the camshaft lugs for heat discoloration, scratch marks, pitting, or uneven wear. If the lobes are in good condition and if the cam lobe measurements are as specified, the camshaft can be reused.
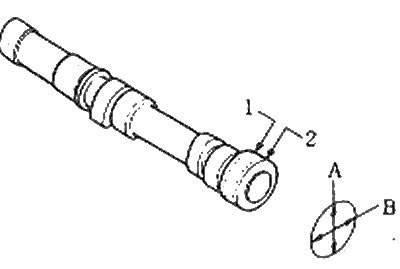
Camshaft Lobe Measurement Locations
4. Measure the bearing journals with a micrometer to determine if they are excessively worn or rounded (photo). If they are worn out by more than 0.5 mm, the camshaft must be replaced with a new one. Measure the journals and the front face of the gland, and compare these dimensions with specifications, to determine if wear is excessive.
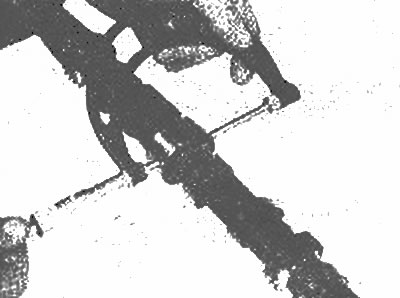
Measure the camshaft bearing journal diameter and subtract the bearing bore diameter to get the camshaft running clearance
5. With the camshaft installed in a V-block, check for wear as shown in the accompanying illustration.
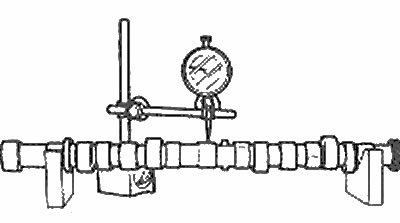
Checking camshaft wear with a micrometer
6. Place the camshaft on the cylinder head and check the end play with a micrometer by pushing the camshaft all the way back and then forward as shown in the accompanying illustration.
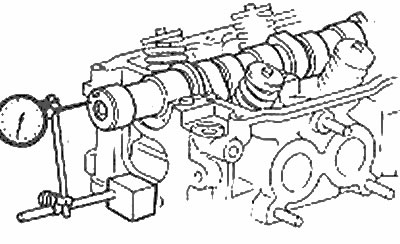
Checking the camshaft axial play with a micrometer
7. The camshaft running clearance is checked at the final assembly of the engine with the cylinder head bolted (Section 2 Part A). With the camshaft cover and journal completely clean and free of oil, place a strip of special material to measure the clearance in the plain bearings across each journal parallel to the camshaft axis, install the covers and tighten the bolts to the specified tightening torque specification. Remove the covers and measure the crushed material width against the spreadsheet to determine the working clearance. If the clearance is out of specification, the cylinder head and camshaft covers must be replaced.
