Front direction indicators / sidelights
1. On Ford Probe models, remove the mounting screws and fold back the edge of the wheel arch insert to access the bulb.
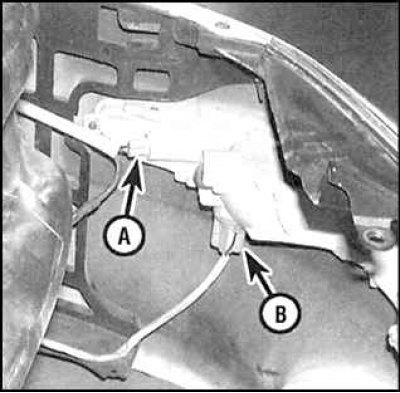
2. On Ford Probe models, turn counterclockwise and remove the turn signal bulb holder (A) and sidelight (IN).
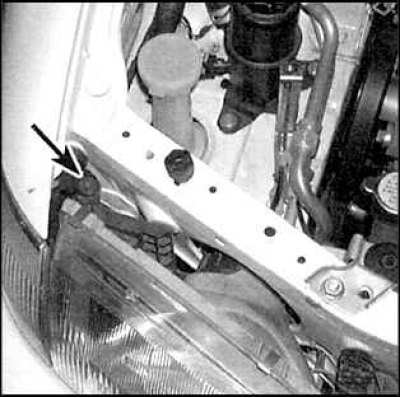
3. On Mazda models, unscrew the fixing bolt (indicated by an arrow) and remove the turn signal. Turn the bulb holder and remove it from the headlight.
4. Replace light bulb.
5. Installation is carried out in the reverse order of removal.
Rear direction indicators, brake lights and parking lights
1. Open the trunk lid/tailgate.
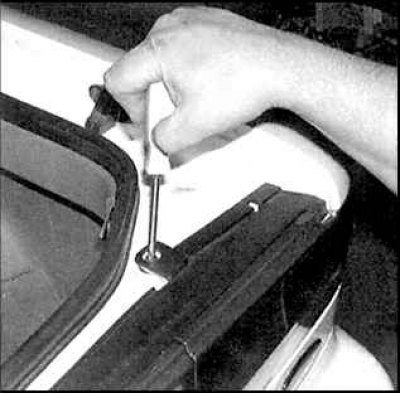 | 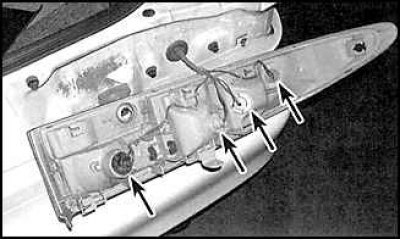 |
2. On Probe models, remove the top fixing screw (photo on the left) and remove headlight (photo on the right).
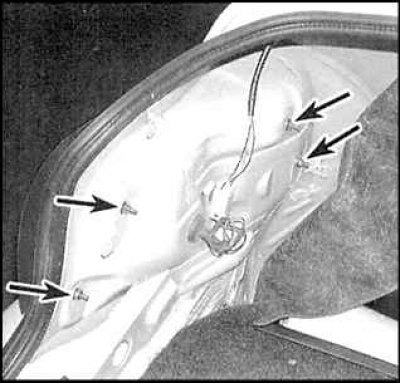
3. On Mazda models, fold back the trim panel and remove the bulb holder mounting screws.
4. Turn the bulb holder counterclockwise and remove the bulb holder. Replace light bulb.
5. Installation is carried out in the reverse order of removal.
Top brake light
1. Open the tailgate/boot lid.
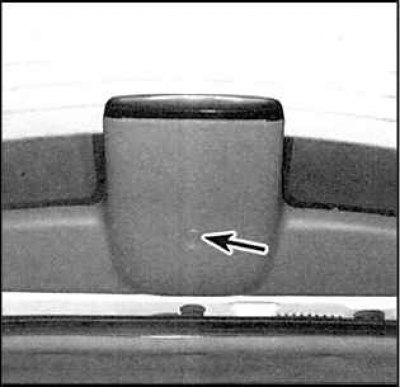
2. On Probe models, remove the side trim panels, then remove the plastic pin (indicated by an arrow) and remove the center panel.
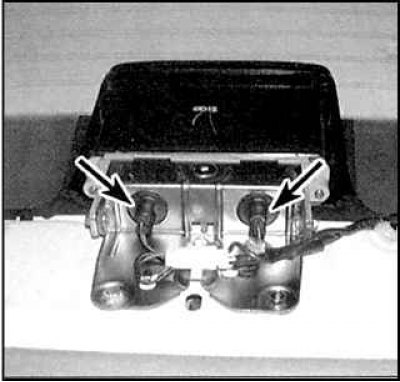
3. Take out the light bulbs (indicated by arrows)
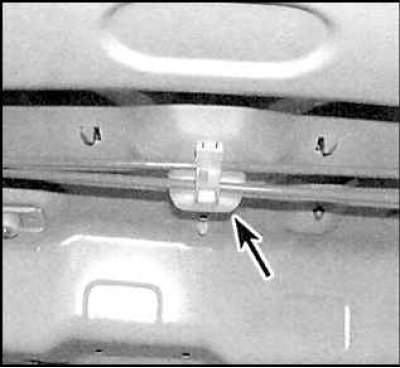
4. On Mazda models, press the plastic latch (arrow) and remove the lamp cover.
5. Remove the socket and replace the light bulb.
6. Installation is carried out in the reverse order of removal.
License plate lights
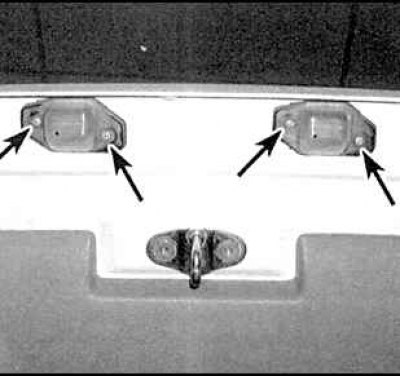
1. Remove the two license plate lights.
2. Replace light bulbs.
Interior lighting bulbs
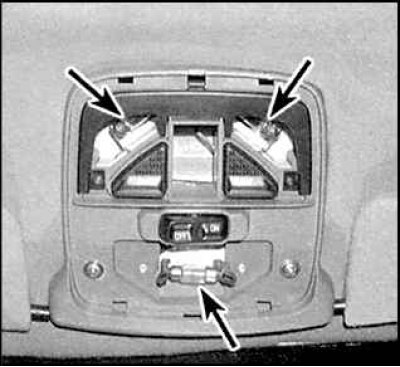
1. Remove diffusers to access bulbs (indicated by arrows).
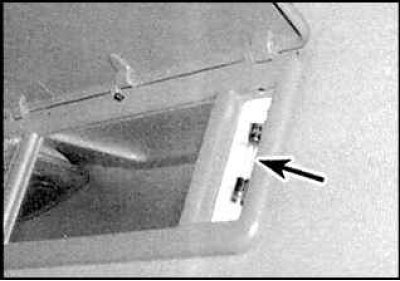
2. Remove diffuser to access bulb (arrow).
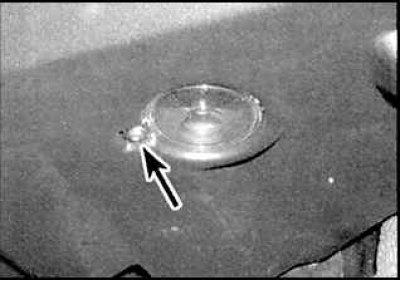
3. Loosen the fixing screw (indicated by an arrow) and remove diffuser.
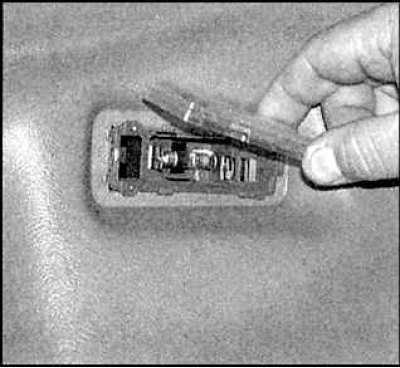
4. Remove diffuser.
5. Replace light bulbs.
Instrument panel lights
1. Remove the instrument panel.
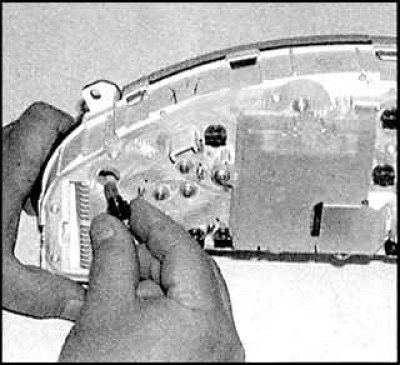
2. Turn the bulb holder counterclockwise and remove it from the instrument panel.
3. Replace light bulb.
4. Installation is carried out in the reverse order of removal.
