Note. The models described in this manual are equipped with an airbag system. Before working in close proximity to shock sensors, steering column or front panel, disconnect the cable from the negative battery terminal, then the cable from the positive battery terminal, then wait at least 3 minutes. Accidental airbag deployment can cause injury (see chapter 12). Wiring of the airbag system safe g and. passing through the front panel and the central console is yellow. Do not connect a tester or wires from other vehicle systems to these wires.
Warning If the car sound system», installed in your car has an anti-theft code, before disconnecting the battery, make sure that Ves has a code to unlock it.
Front bumper
1. Apply the handbrake, raise the vehicle and support it on stands.
2. Disconnect the wire from the negative battery terminal, then disconnect the wire from the positive battery terminal and wait at least 2 minutes before continuing.
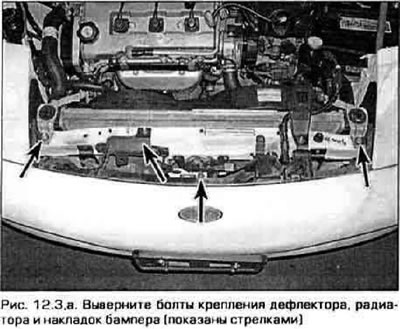
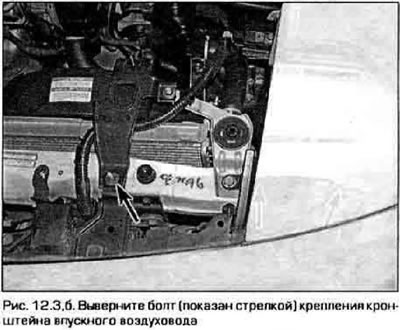
3. Turn out bolts of fastening of an air deflector, a radiator, overlays of a bumper and arms of an inlet branch pipe of an air cleaner (pic. 12.3, a, b).
 |  |
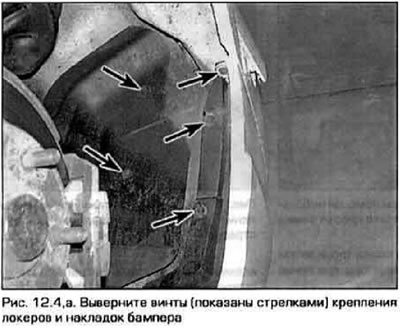
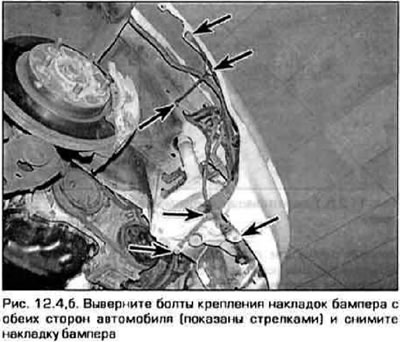
4. Turn out screws of fastening of lockers and overlays of a bumper (pic. 12.4, a, b).
 |  |
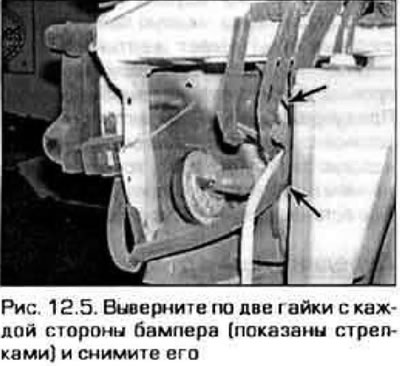
5. After removing the lining, unscrew the fastening nuts and remove the bumper from the car (pic. 12.5).
6. Installation is carried out in the reverse order of crushing. Before attaching the bumper cover, make sure that the tabs on the cover fit into the notches in the body. This job is much easier to do with an assistant.
Rear bumper
7. Raise the rear of the vehicle and place it on stands.
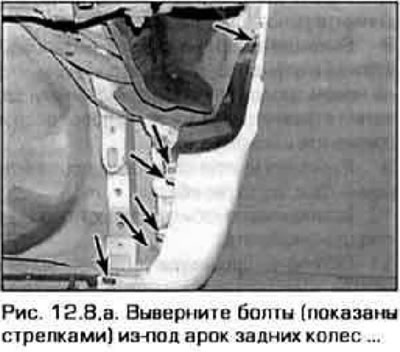
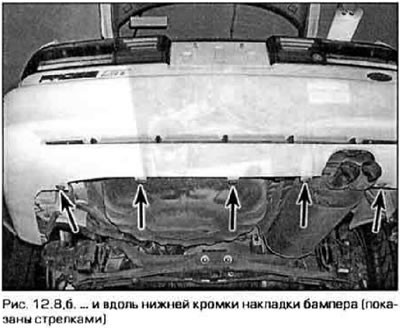
8. Under the car, unscrew the nuts and screws securing the lower edge of the bumper cover (pic. 12.8, a, b).
 |  |
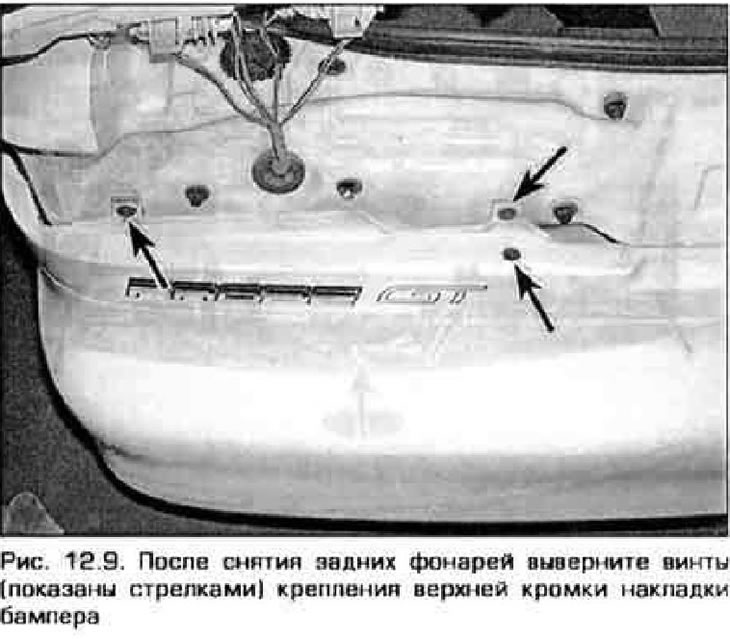
9. Remove taillights (see chapter 12), then remove the screws securing the upper edge of the bumper cover (pic. 12.9).
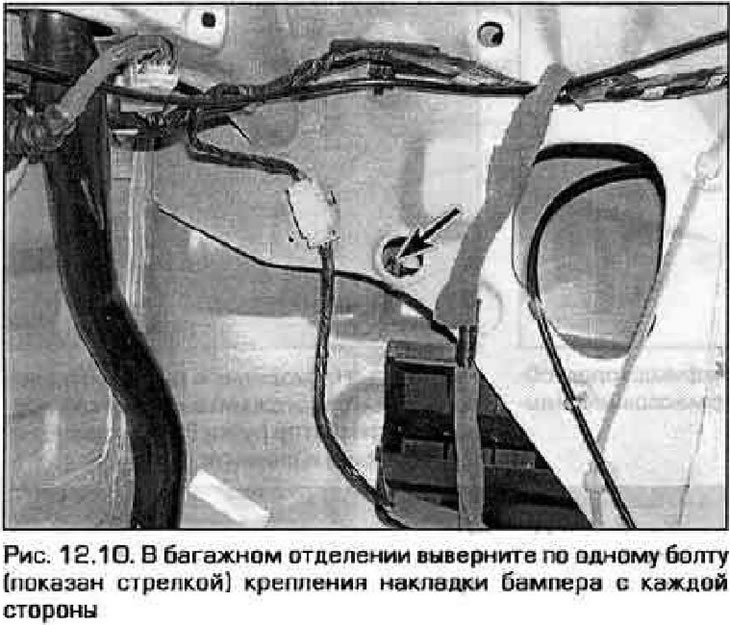
10. Working in the luggage compartment, unscrew the bolts securing the lining (pic. 12.10).
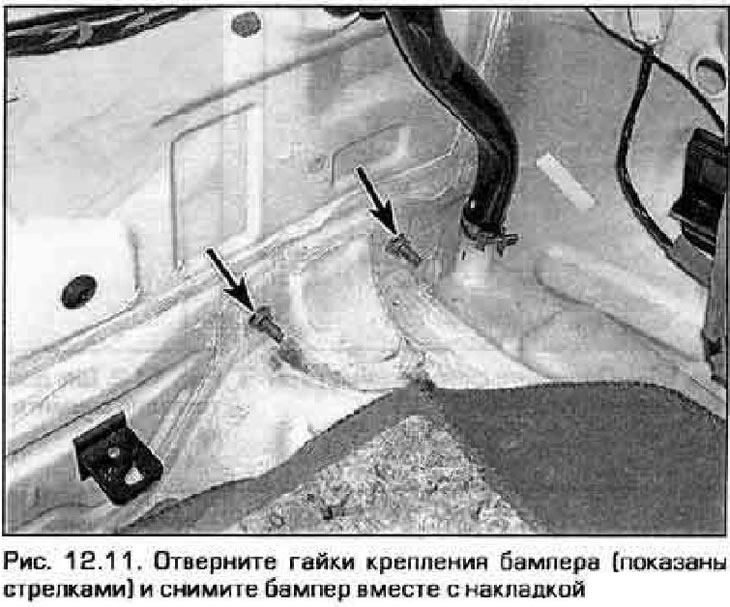
11. In the luggage compartment, unscrew the bumper fastening nuts, then remove the bumper together with the lining from the car (pic. 12.11).
12. Installation of a bumper is made in sequence, return to removal.
