Note. The hood is a heavy and inconvenient part of the car, so we recommend removing and installing the hood with two people.
Removal and installation
1. Open the hood and cover the fenders and surrounding parts of the hood with rags. This is recommended to protect these parts in the event of a fall of the hood.
2. Disconnect all cables and electrical wiring from the hood. Disconnect the hoses from the windshield washer nozzles.
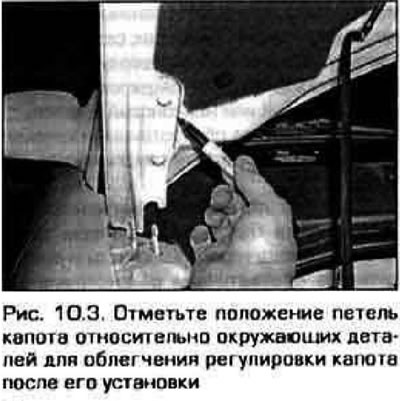
3. Mark the position of the hinges relative to the body for easy adjustment after installation (pic. 10.3).

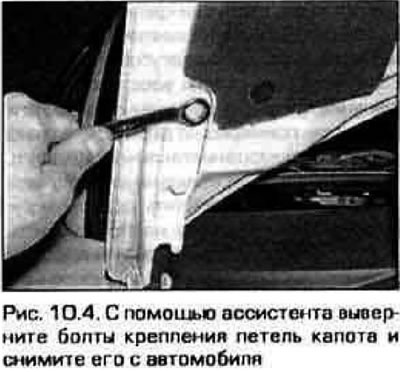
4. Turn away bolts of fastening of loops and lift a cowl (pic. 10.4).

5. The hood is installed in sequence. return to removal. From adjust the hood in accordance with the marks made before removal (see point 3).
Adjustment
6. Adjustment of the hood forward-backward and left-right is carried out by moving the hinges (loosening bolts).
7. Mark the position of the hinges relative to the body in order to have an idea of the movement of the hinges during adjustment (see fig. 10.3).
8. Loosen the bolts (or nuts) and move the hood in the desired direction. Move the hood a little and check its position relative to the body. Tighten the bolts and carefully close the hood to check its position.
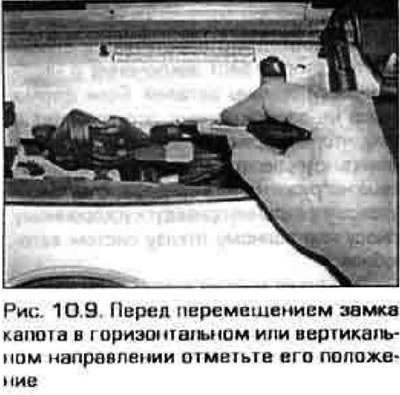
9. If necessary, the stab can be adjusted in height and left-right by changing the position of the lock on the radiator cross member so that the hood is at the same height as the wings. To adjust, mark the position of the hood lock relative to the body, then loosen the bolts securing the lock and move it in the desired direction (pic. 10.9). After adjustment, tighten the bolts securing the lock.

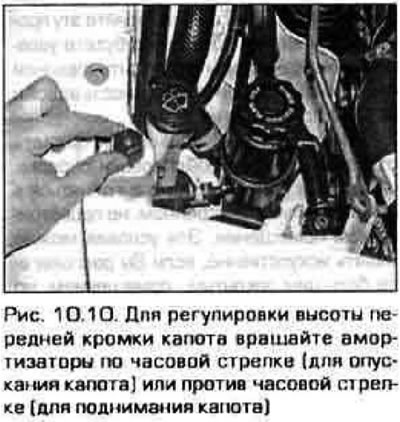
10. Adjust position of shock-absorbers of a cowl so. so that the leading edge of the closed hood is flush with the fenders (pic. 10.10).

11. Hood lock (same as loops) should be periodically lubricated with lithium grease to prevent galling and wear.
