Disassembly
Loosen the bolts securing the camshaft pulleys, blocking each of them in turn with a wrench in the gap between the cams of the 1st and 2nd cylinders.
Remove toothed pulleys.
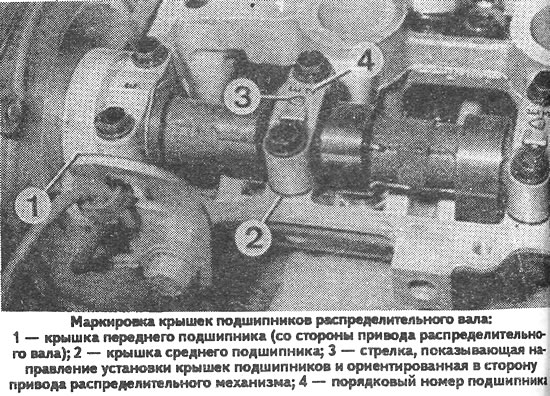
Remove the camshaft bearing caps by unscrewing their fastening bolts one by one.
Remove the camshafts from the cylinder head bearings.
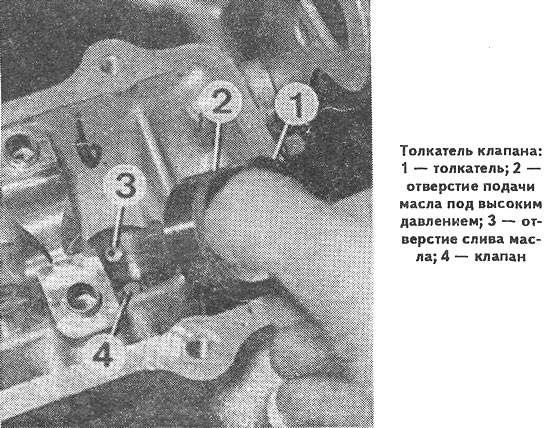
Remove the tappets from the holes in the cylinder head and put them in order to put them in their original places during assembly.
Release the crackers from the valves by compressing the valve springs with Mazda 49 0636 100A tool with support ring 49 B 012 002.
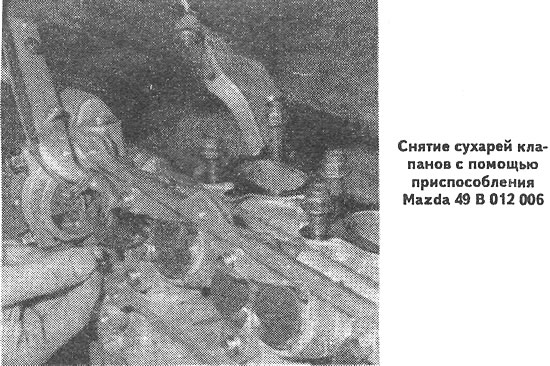
Remove the springs with plates and put them in order.
Take out the valves.
Remove the valve guide bushings and spring washers.
Press out the camshaft seals.
Wash and clean the removed parts and cylinder head.
Check the valve seat faces for pitting, corrosion, and damage. Minor damage can be repaired by grinding, removing as little metal as possible. After grinding, thoroughly rinse the seats and cylinder head passages and blow them out with compressed air. Remove carbon deposits from valves. Check for deformation of the valve stem and cracks in the poppet. Check the condition of the valve face. In case of minor damage, it can be sanded, maintaining the required chamfer angle. Check clearance between guide bushings and valve stems.
If the gap between the guide sleeve and the valve is increased, press out the valve guide sleeve using a Mazda 49B 012 005 drift towards the upper plane of the cylinder head.
Pressing in a new guide bushing must be done using a Mazda 49 0249 010A drift, ensuring that the guide bushing protrudes above the surface of the cylinder head within 16.8-17.4 mm.
Check for warping of the cylinder head mating surface.

Assembly
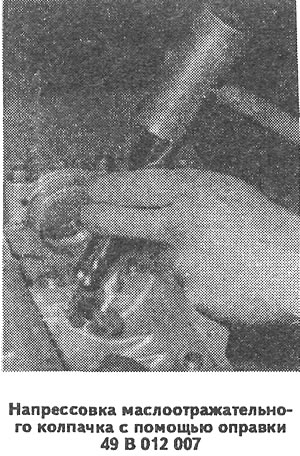
Using a Mazda 49 drift B 012 007, press the valve stem seals onto the valve guides.
Insert the valves into the guide bushings.
Install the support washers, valve springs and spring plates. While compressing the springs using Mazda 49 0636 100A with support ring 49B 012 002, install the valve cotters.
Lubricate the valve lifters with engine oil and insert them into the bores of the cylinder head after filling the chambers with engine oil.
Lay the camshafts in the cylinder head bearings, having previously lubricated their bearing journals and cams with engine oil.
Install the camshaft bearing caps and tighten their fastening bolts to a torque of 1.15-1.45 kgf·m in the order shown in the photo.
Press in new camshaft seals.
Insert the keys of the toothed pulleys into the sockets of the camshafts.
Put the toothed pulleys on the camshafts.
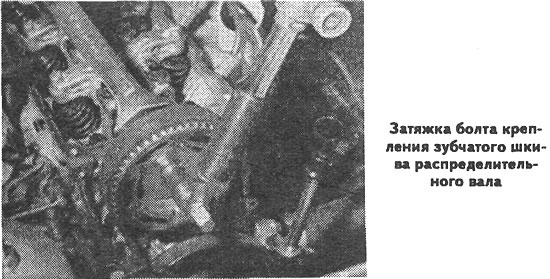
Blocking the camshafts one by one with a wrench, tighten the bolts securing the toothed pulleys.
Turn the camshaft pulleys until the alignment marks of the timing mechanism are aligned (see photo). When doing this, make sure that the inlet and outlet valves do not touch.
